Yoghurt making is simple, safe and saves on a lot of plastic packaging (as well as some dollars!).
The basic principle is that we don;t really MAKE yoghurt, we multiply yoghurt. So we need to have some existing yoghurt to start the process. And all we really have to do is to create the right environment for the live cultures in the yoghurt to reproduce and turn your milk.
It is important than to understand what yoghurt atcually is:
…
So what we need to create is an environment that is warm and comfortable for the live cultures, has some food (lactose and sugar) available and is kept constant quiet and dark for at least 6h. After that we want to stop the reproduction process, so we put them in the fridge to lower the temperature and maintain only the good cultures in there 🙂
On that note, you don’t want any “other” nasty creatures growing on your yoghurt (the bad bacteria), so make sure that you use metal and/or glass utensils and that everything is clean before you start to avoid contamination.
So, here is how I make my yoghurt at home:
What you need:
Containers for the final product:
-
- One large 2l container to store the yoghurt OR
- a number of smaller containers that in total have capacity for 2l of yoghurt (I like using re-purposed baby food containers as they are great for individual portions that kids can take to school and we take to work with us as a snack)
- Whichever you choose, I always prefer glass than plastic, but you can use whatever you have. Even repurpose old yoghurt containers!
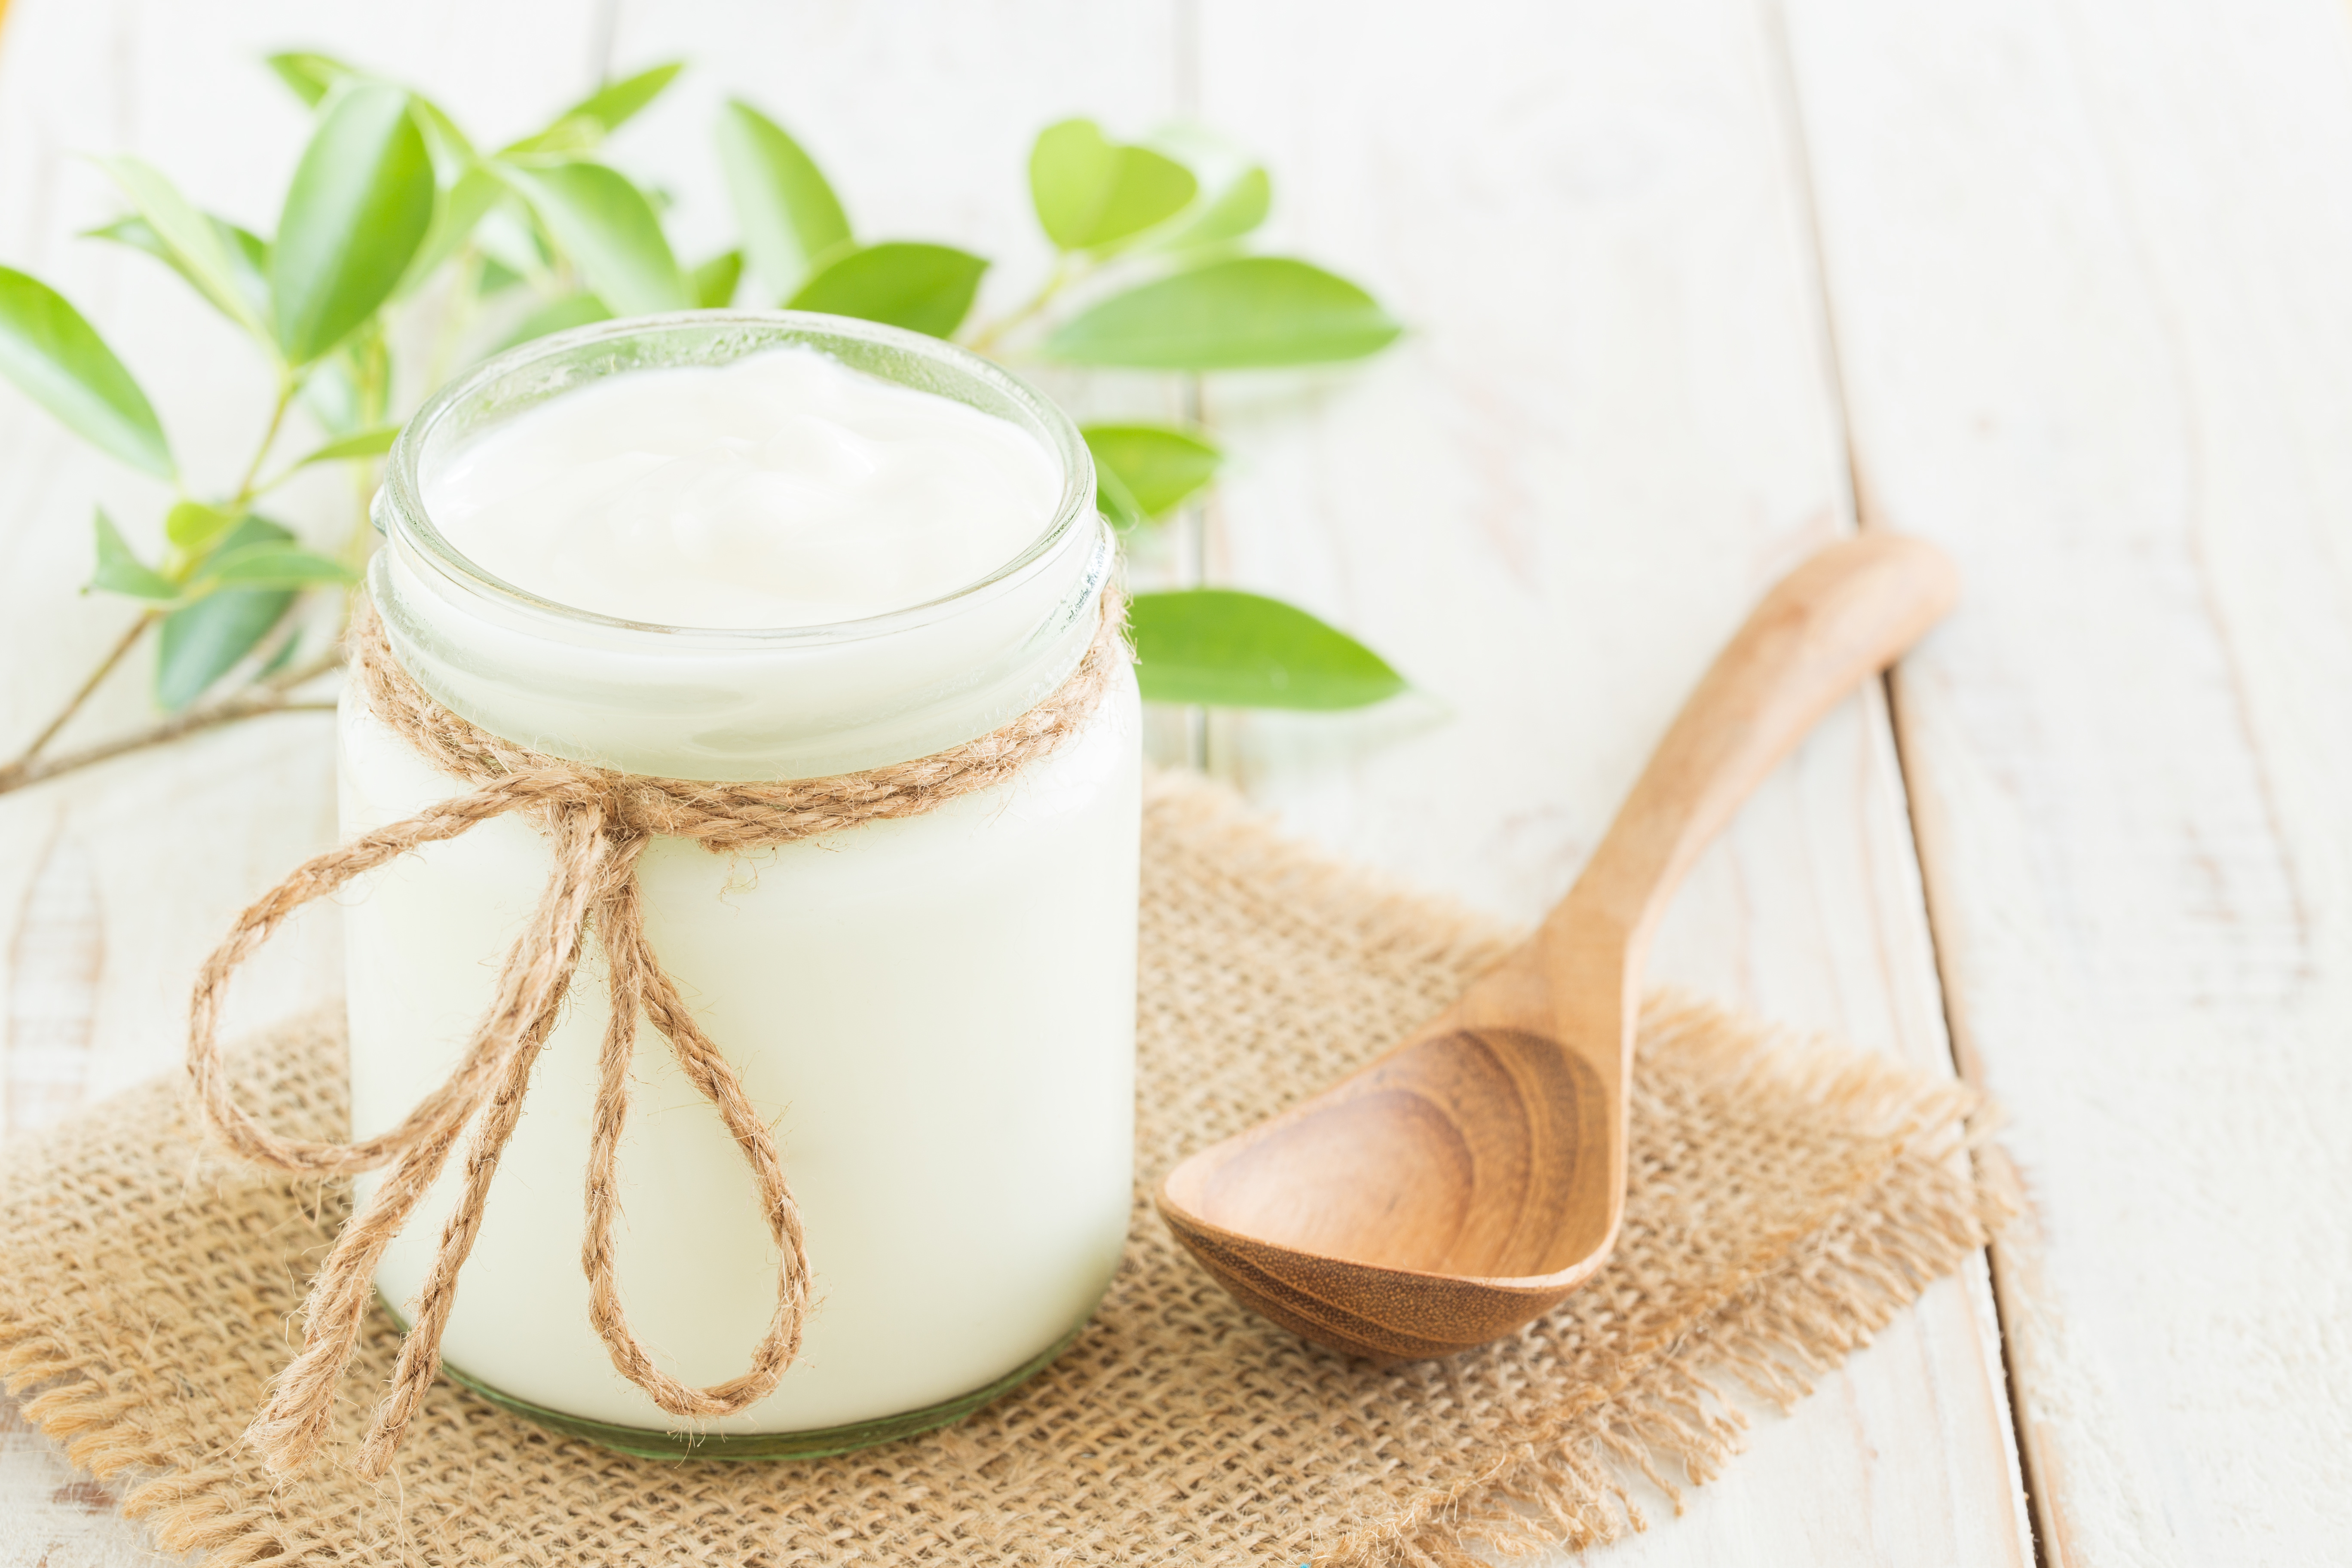
1 cup of yoghurt
2l of milk
1 tablespoon of sugar (optional, it just helps with fermentation)
A large container, pot or esky where you can store the newly combined yoghurt for 6h with some hot water inside to maintain its temperature.
Somewhere to warm the milk
-
- a 2l heat-proof container / bowl (if you are using a microwave)—you can use this same container to store the yoghurt, if you have a cover for it (remember that using cling wrap defeats the purpose of this whole exercise!! 🙂 )
- a 2l cooking pot (if, like me, you don’t have a microwave and uses the stove to warm the milk)
Food thermometer.
To action…
- Warm the milk to body temperature (somewnere between 36-38°C). Warmer than that will kill the live culture, colder than that will not help them reproduce. If you are using a microwave, 2l of milk will take aprox 2min to warm to body temperature, but it depends on your appliance, so you will need to test it out. If you are using the stove, place the thermometer in the pot and take it from the heat when it reaches 36°C.
- Add the yoghurt and the sugar (optional) to the milk, and mix gently until the yoghurt is completely dissolved.
- Distribute the milk mixture on small glass containers or on a large container for storing. I like to keep the lids open at this stage
- Place the containers with the milk mixture in the large container, pot or esky where you will keep it warm and stored for the next 6h. Add some hot water to the bottom of this storage so that the “room” temperature is kept elevated and the environment is warm enough for the live cultures to reproduce happily.
- Let the milk mixture rest for 6h.
- After this period check if the mixture is set. If it is, close the lids and place your little yoghurt pots in the fridge! Wait for them to cool down and voy-la! You made it!!!! 🙂